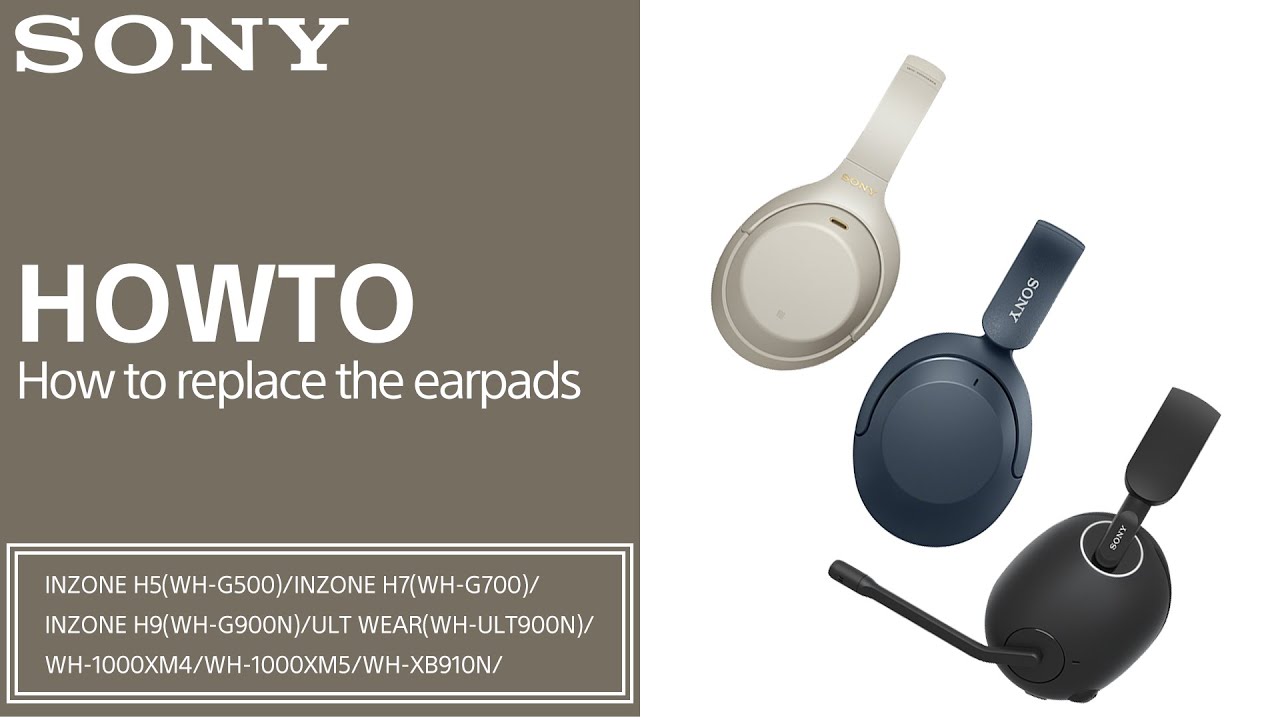
IMPORTANT: This article applies only to specific products and/or operating systems. Check Applicable Products and Categories for details.
If your headphones are not included in the applicable model section, please visit this article (WH-CH series / Inzone H3).
Before you start
Before replacing the earpads, make sure that the headphones are turned off.
Remove the earpads
Hint: You can view a video on how to remove the earpads in the Reference video section of this article.
- Locate the claws by tracing the inside of the earpad cushion. There are six claws in total, viewable from the earpad cushion: two on the inside of the headphones, two on the top and bottom, and two on the outside. These claws are used to secure the earpad and headphones.
Note that the WH-1000XM6 has only five claws and does not require the disassembly tool.
Click or tap here for instructions
- Check the correct way to hold the disassembling tool. Make sure to use the spatula side of the disassembling tool that does not have a bent tip. Be careful not to use the opposite side of the tool, as it will damage the headphones.
- Cautiously check the position of the claw from the inside of the earpad cushion, then use the disassembling tool to push the earpad inside and remove the claw from the headphones. Make sure you remove the claws in the following order:
Note: The location of the claws can differ slightly depending on the model.
Note: When using the disassembling tool to push the earpad cushion, be careful not to apply too much force so as not to damage the headphones.
Hint: Press the disassembling tool between the earpad and the headphones, then lift the frame of the earpad to remove the claws.
- Two claws inside the headphones, viewable from the earpad cushion
- One claw each on the top and bottom
- Two claws on the outside
Install the replacement earpads
- Check the condition of the cushioning material that protects the housing after removing the earpads. If the cushioning material comes off or is not attached correctly, the noise-canceling effect will not work well and cause the headphones to echo. When removing the earpads, the cushioning material may accidentally come off. If this happens, return it to the correct position by carefully checking the left and right sides of the material. Be careful not to touch any parts inside the headphones, as this may cause a malfunction.
Note: Depending on the model, the shape of the cushioning materials may differ, or no cushioning materials may be attached. Here are images indicating the cushioning materials with red circles:
- WH-1000XM4
- WH-1000XM5
- WH-1000XM4
- Check the position of the claws on the new replacement earpad and temporarily place the earpad on the headphones.
Note: Be careful not to put the earpads in the wrong direction. If the earpads are oriented in the wrong direction, the position of the claws will be misaligned with the headphones, making the earpads impossible to install.
Hint for WH-1000XM4: Hint for WH-1000XM5: Hint for INZONE H9 (WH-G900N):Hint: Depending on the headphones, uneven indentations may help you check the position in addition to the claws that secure the earpads.
- Tracing the inside of the earpad cushion with your finger and checking the position of the claws, press and insert the claws one by one into the earpad to attach the earpad to the headphones. Finally, gently pull the earpads to ensure they are securely in place on the headphones.
Reference Video
You can view a video on how to remove the earpads (using the WH-1000XM4 as an example):