
Top Tips: Nighttime Photography
Kaupo Kikkas
Nighttime is a tool
I consider shooting at night a tool that I have at my disposal. In the dark, your other senses kick in; you notice smells, temperature, and sounds. Then you notice what light there is, maybe a full moon in the sky casting shadows or hundreds of pinpoint stars in the sky. You can use this experience of feeling to influence your photography.
 © Kaupo Kikkas | Sony α7R IV + FE 24-70mm f/2.8 GM II | 20s @ f/5.0, ISO 2500
Paint with light
The night gives you a blank canvas; you can choose what you want to illuminate and reveal. I do this by using a torch and interacting with the scene.
If you simply mounted your camera on a tripod and stood behind it, pointing a torch, you would get a very unflattering image that looks like it has been lit with an on-camera flash. Instead, I walk around the scene, moving the torch evenly across it.
 © Kaupo Kikkas | Sony α7R IV + FE 12-24mm f/4 G | 30s @ f/4.0, ISO 3200
The basic technical details
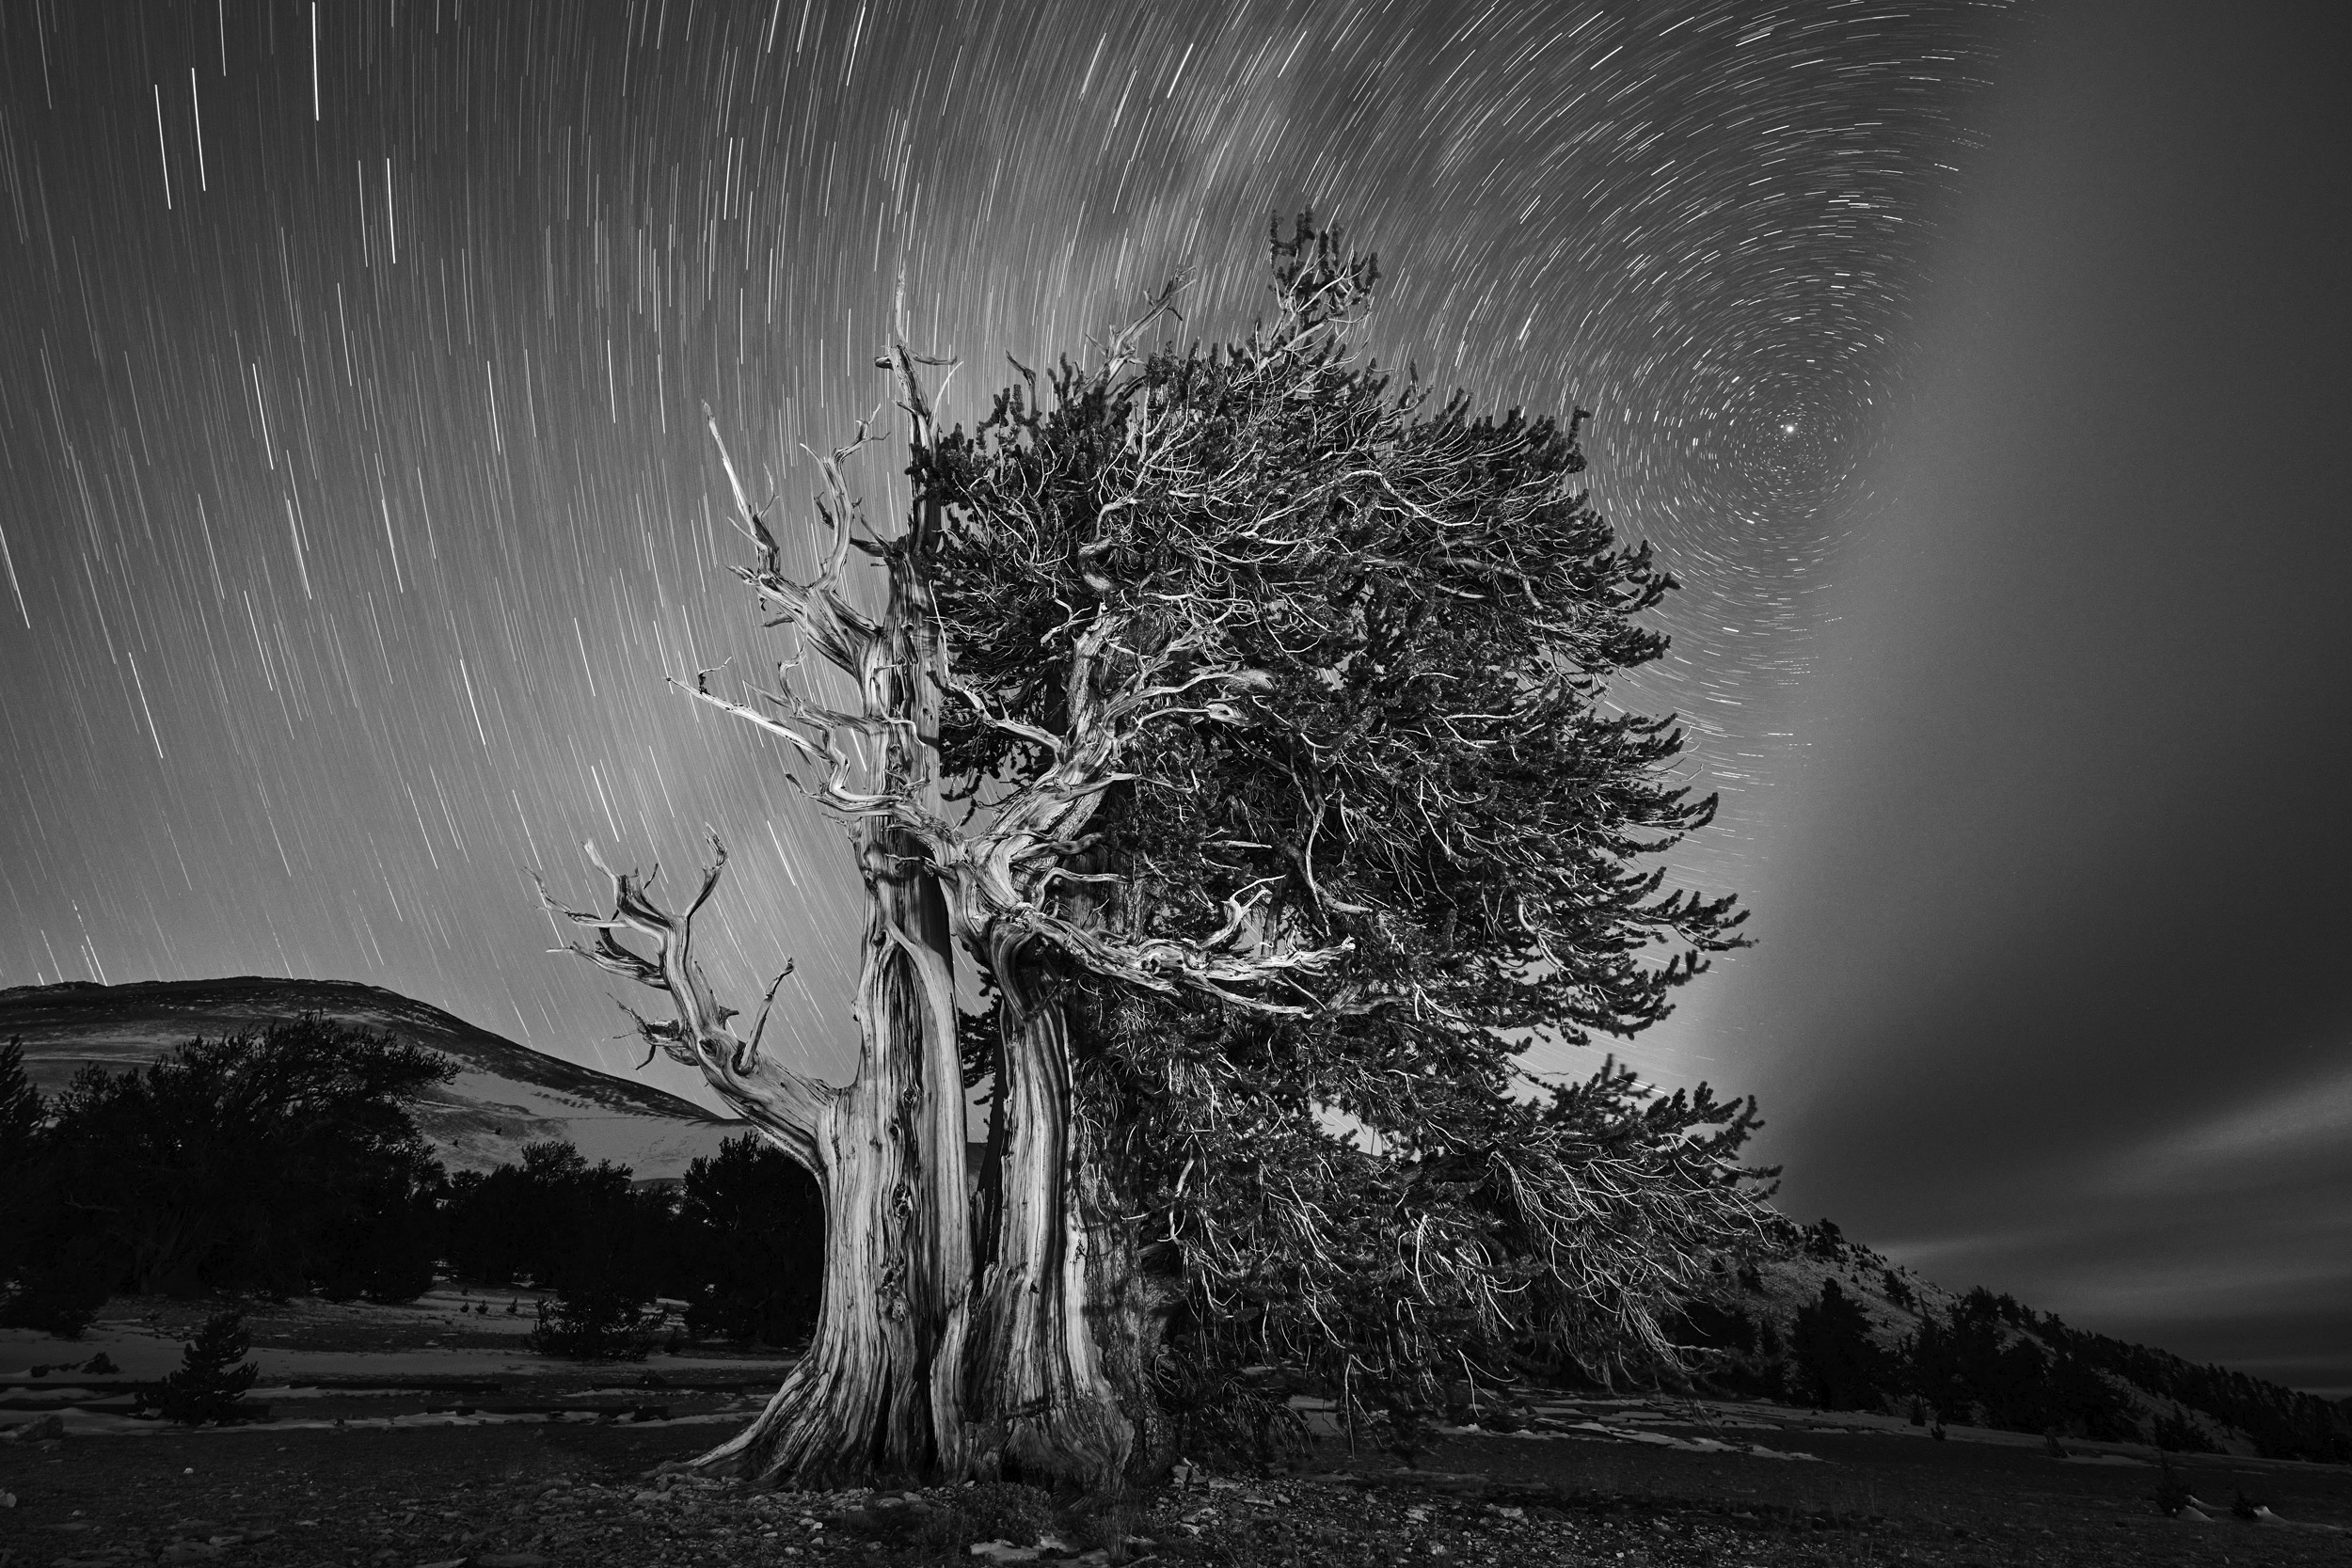
Shooting at night, you are battling against the lack of light. A tripod is essential so you can use a long exposure to capture as much light as possible whilst maintaining focus of the scene. You need a long enough shutter speed to see the light from the stars. However, you are also fighting against the Earth rotating, causing the stars to blur if the shutter speed is too long.
The general rule if you want to capture a perfect night sky, is that the shutter speed, in fractions of a second, should match the focal length. For example, a 20mm focal length would mean an exposure no longer than 20 seconds. I mainly shoot with either the FE 12-24mm f/4 G or FE 16-35 f/2.8 GM lenses. They are great lenses for shooting nighttime landscapes just as much as they are for shooting during the day.
I usually set my shutter speed between 20-30 seconds. This is because I don’t mind having a tiny bit of movement in the stars; Sometimes, I feel it adds a dream-like feel to my images. It also has practical reasons, because at these speeds, I have more time to light the scene, and means I can use a reasonable ISO, such as ISO 3200 or 6400.
One of the great things about shooting with the Sony Alpha 1 and Alpha 7R IV is that I can confidently use these ISO sensitivity settings, knowing that the image quality will still be excellent.
 © Kaupo Kikkas | Sony α1 + FE 16-35mm f/2.8 GM | 1034s @ f/6.3, ISO 1250
In-camera long exposure noise reduction
I don't want to spend hours processing my images and using lots of software noise reduction. Therefore, I always use the superb Long Exposure Noise Reduction feature of my Sony Alpha cameras (Menu>Shooting > Image Quality > Long Exposure NR > On). This takes a second exposure, for the same amount of time, with the shutter closed to detect hot pixels on the sensor, calculates the level of image noise, and then subtracts it from your initial image.
 © Kaupo Kikkas | Sony α1 + FE 16-35mm f/2.8 GM | 30s @ f/4.5, ISO 3200
Use a quality light source
Having a powerful LED torch is just part of the story. What also matters is the temperature of the light. For me, the Milky Way always looks best at a colour temperature of around 3,500 Kelvin. So, I make sure the colour of my light source is close to this. If you don't, then your landscape could look too warm or too cold against the night sky.
Another key factor is the Colour Rendition Index - CRI. This measures how well the light renders colour wavelengths compared to daylight. A low-quality light can often produce odd colours. Look for a torch with a high CRI of around 97%, and you will notice a big difference in the colour detail in the scene.
 © Kaupo Kikkas | Sony α7R IV + FE 12-24mm f/4 G | 1/13s @ f/4.0, ISO 5000
Focusing
To keep as much of the foreground in focus as possible, you don’t want to take the focus all the way to infinity. Instead, manually focus and keep an eye on the focus indicator. Focus the lens so that the indicator shows that you have reached infinity focus without being at the maximum focus distance.


