Top Tips: Shooting a Solar Eclipse
A total solar eclipse is a spectacular natural event that many people may only witness once in their lifetime. However, they should be viewed with caution. Staring straight into the Sun can cause permanent damage to eyesight, which is amplified when viewing through binoculars, a telescope, a telephoto lens, or a camera with an optical viewfinder, such as a DSLR.
Because Sony mirrorless cameras use an electronic viewfinder (EVF) rather than an optical one, your eyes are not directly exposed to concentrated Sunlight while composing an image. However, the camera's sensor can still be damaged if the camera is pointed at the Sun without a proper solar filter.
Never look directly at the Sun during the partial phases of an eclipse. Only during totality, when the Sun is completely covered by the Moon, is it safe to view with the naked eye. Suitable solar eye protection must be worn before totality and put back on immediately when the first bright Sunlight reappears.
Solar Filters
To keep your camera safe from the Sun's power, you must use a dedicated solar filter. This is a lot stronger than a standard ND filter. A typical photographic solar filter has an optical density of 5.0 (approximately equivalent to ND100000), reducing the Sun's brightness by around 16.6 stops - enough to significantly reduce the intensity of the Sun and protect your camera. The filters are widely available and feature standard lens threads for mounting at the end of your lens, just like any other filter. Make sure you buy from a reputable brand, check the filter for any surface defects before you start shooting, and make sure it is screwed on securely and won’t fall off mid-shot. Standard ND filters, even very strong ones, are not designed for direct solar photography and should never be used as a substitute for a certified solar filter.
Planning
The chances of being in the small shadow of the Moon and seeing a total solar eclipse are a once-in-a-lifetime event, so for many people, seeing a total eclipse will mean travelling. Planning is vital, especially if you want to see the best view of the eclipse; even being just a few miles outside of the direct line will impact your images. So, check the path of the eclipse, and find a spot with a clear view. There are several websites and smartphone apps that show the path of totality and eclipse timings for your location.
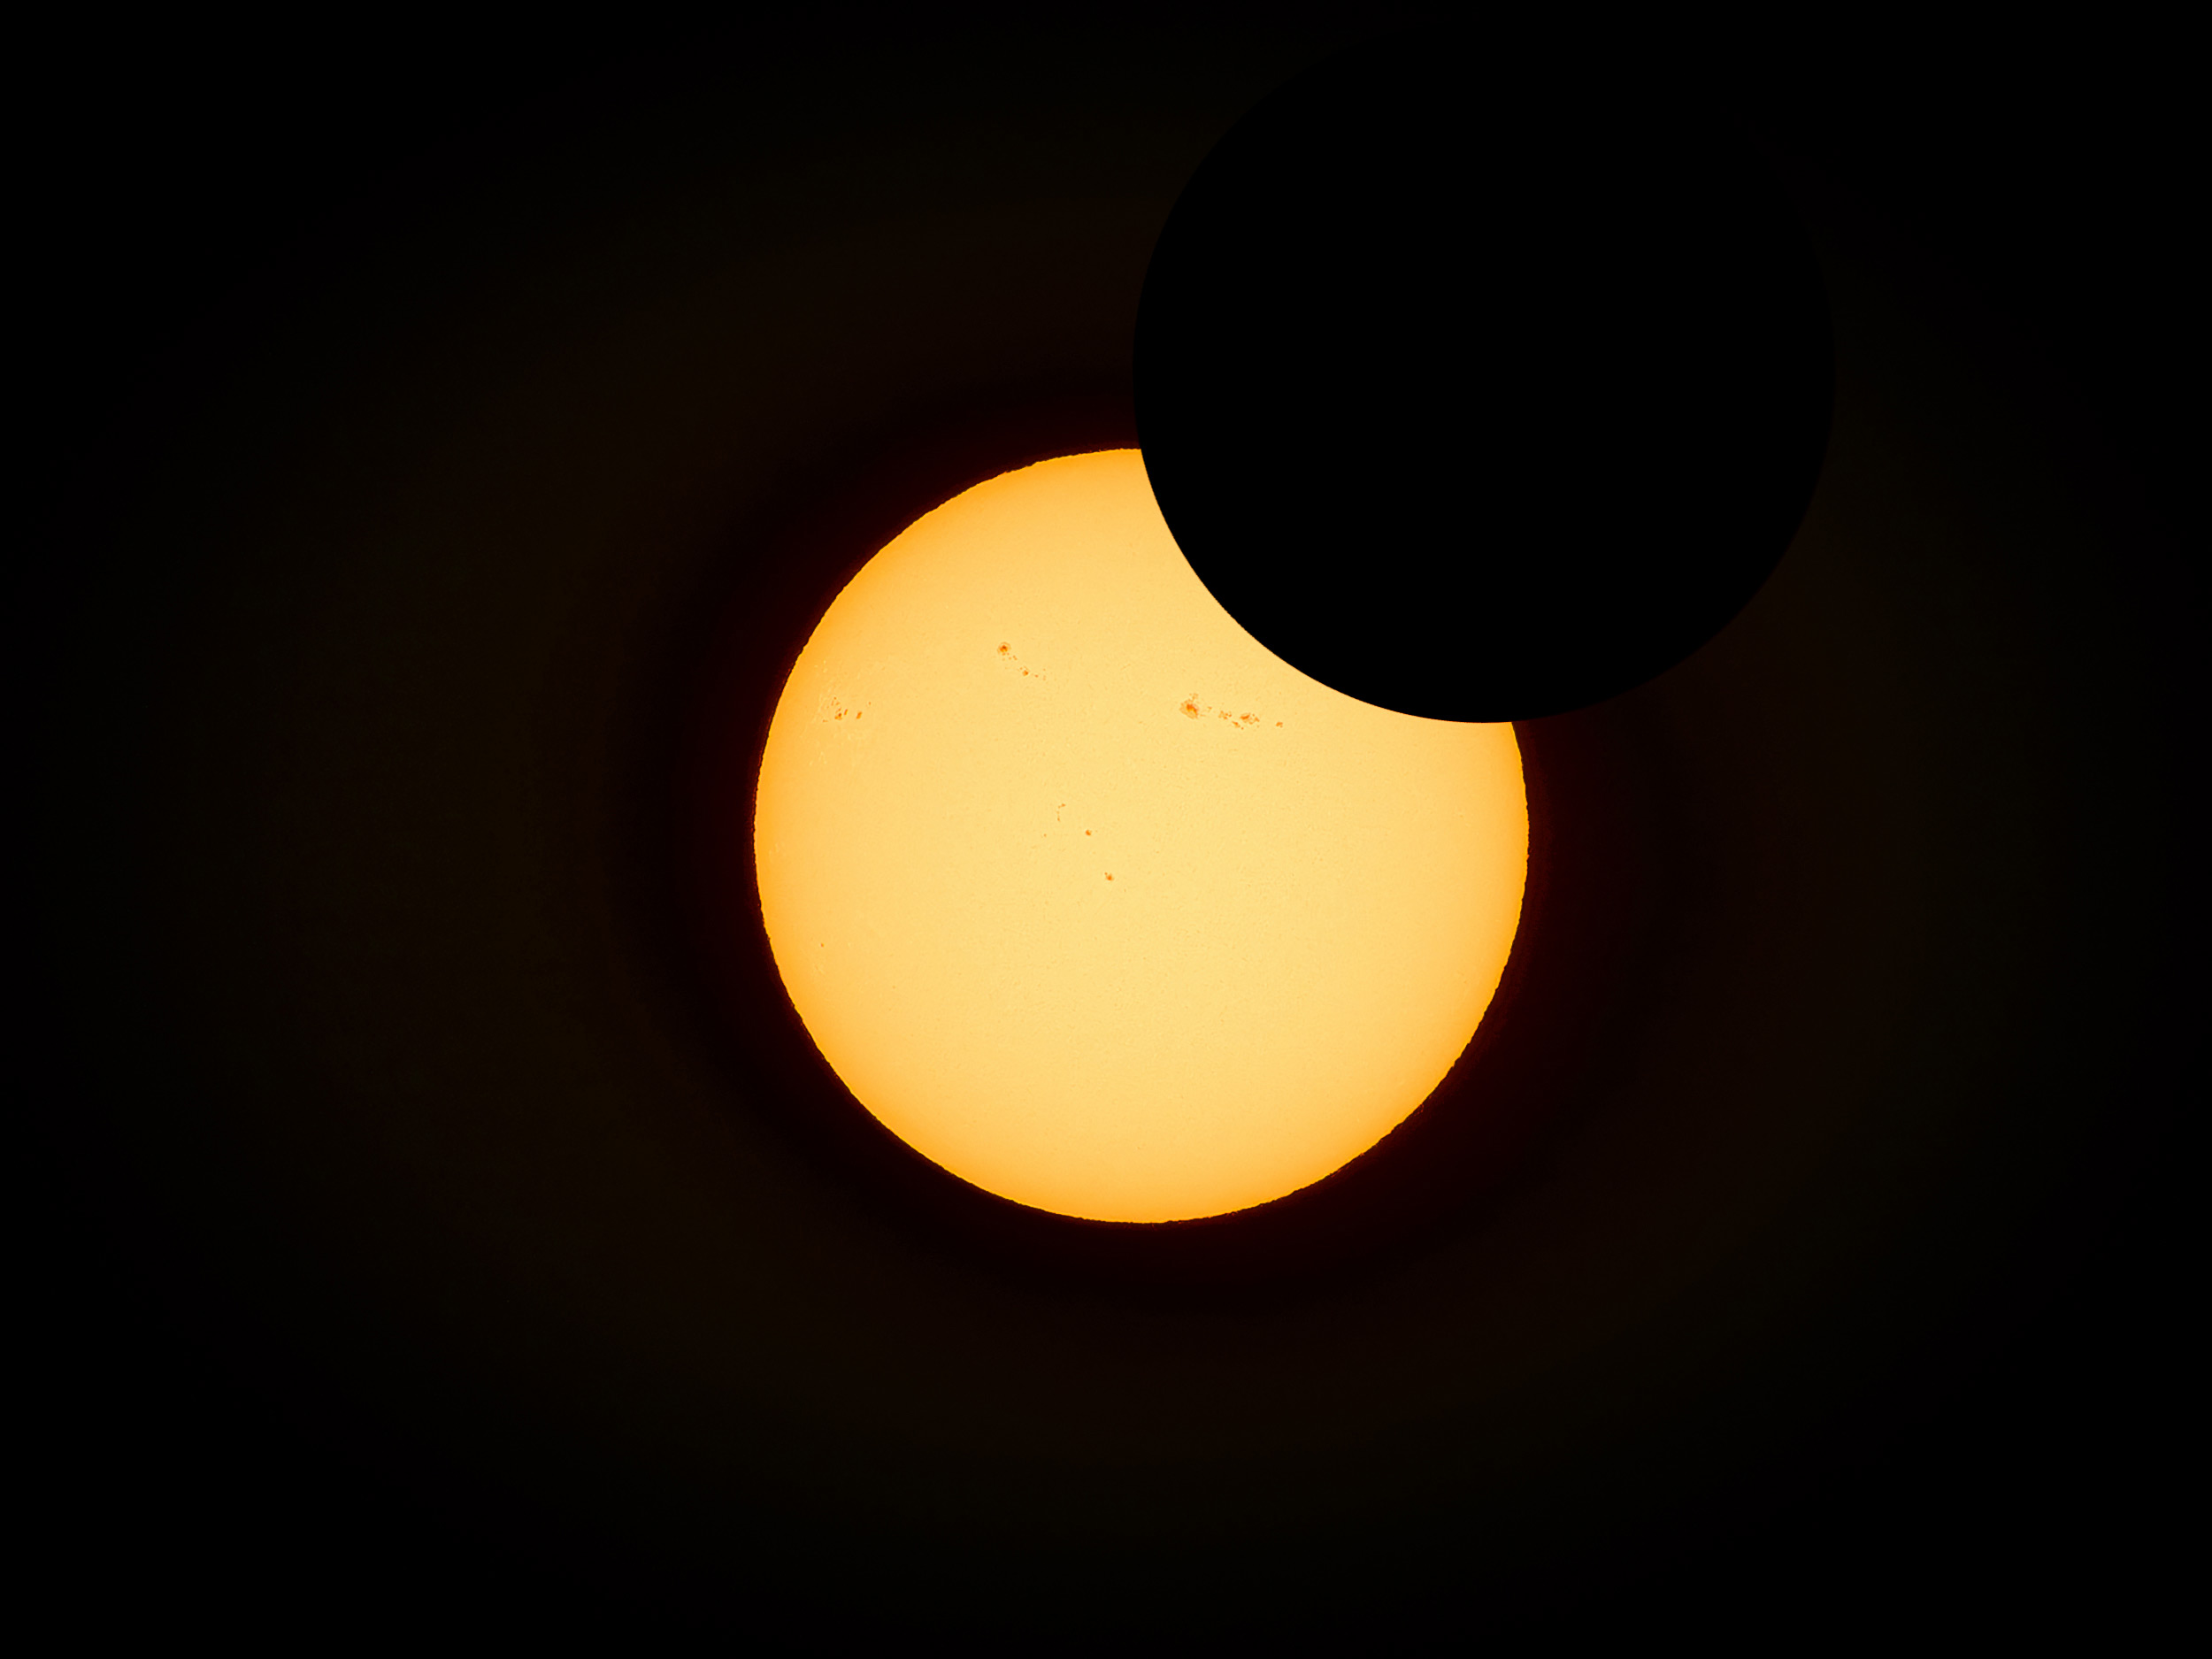 © Jesús M. García Flores | Sony α1 II + FE 200-600mm f/5.6-6.3 G OSS | 1/5000s @ f/20, ISO 100
Exposure Settings
With so much light blocked, your camera’s metering system may become unreliable. A good starting point is to set your camera to Manual mode, ISO 100, f/8, and 1/500th sec, with a solar filter fitted. Adjust the shutter speed accordingly.
Your Sony camera has tools that make it much easier to get the right timing and exposure. Exposure Bracketing is the most obvious. In Drive Mode, choose Cont. Bracket and set the Exposure value to 1.0EV and the images to 5. When you hold down the shutter, the camera will shoot 5 images in quick succession, each 1 EV apart: -2 EV, -1 EV, your chosen exposure, +1 EV, and +2 EV.
Lens Choice
To capture a dramatic, high-detail shot, a telephoto lens is the obvious choice. A 200mm lens is about the bare minimum you should go for, but ideally, for dramatic images, you want a focal length of 400mm or longer. Because solar photography is normally carried out around f/8, you don't need an especially fast lens. Sony’s incredible FE 200-600mm f/5.6-6.3 G OSS is the standout choice. Usually the preserve of wildlife and sports photographers, the 600mm focal length and 95mm filter thread make it one of the most versatile lenses for capturing a solar eclipse. The FE 100-400mm f/4.5-5.6 GM OSS is another option, with a lighter, more compact body and a more common 77mm filter thread.
For even more dramatic shots, both lenses can also be used with the Sony FE 1.4x and 2x Teleconverters.
Supporting the camera and lenses
A tripod is recommended for shooting the eclipse. With a long focal length lens, a tripod will prevent any movement, but it also makes it more comfortable to shoot, makes it easier to maintain composition, and lets you lock focus once you have found it.
Focusing
Manual focusing is the best option for focusing the lens, and once set, it won’t need to be changed. Use the camera’s Focus Magnifier function. Ideally, you should set this to automatically turn on when you turn the lens’s manual focus ring. To do this, go to Focus > Focus Assistant> Auto Magnifier in MF and set it to On.
Stages
As the Moon passes in front of the Sun, there are different stages that you photograph, such as First Contact - where the Moon and Sun ‘touch’ for the first time, then there is Totality - where the Moon completely blocks out the Sun. Totality is the only time you can safely remove the solar filter as the Sun is blocked. Only remove the filter when the Sun is completely blocked by the Moon - be patient and don’t remove it too early. Depending on where you are positioned, Totality can last from just seconds to several minutes, so proceed with caution and don’t get lost in the moment - have the filter ready to go back on.
With the filter off, you will need to adjust the exposure, as the brightness can vary dramatically: start around 1/125 sec, f/8, ISO 100, and then, when it is safe, use bracketing to take multiple exposures. A bracketed sequence can also be blended together using suitable software when editing.
Replace the solar filter the instant the first point of sunlight returns, preferably well before. If you are inexperienced or not comfortable, it isn’t worth risking your camera. Instead, leave the solar filter on and enjoy the incredible natural experience.


